Learn the steps I used to take this photograph of the moon.

software and equipment
This is a list of the software, telescope and camera I used to take the photograph.
SharpCap
This is the software I use to operate the camera. There is a basic free version and a reasonably priced pro version.
AutoStakkert
AutoStakkert lets you 'stack' thousands of images of the same object together. This process averages out noise and results in a sharper image than any single image could be. (Free)
Registax
Registax wavelets function is one of the best sharpening tools for astronomical images. It can also be used to stack images. (Free)
Image Composite Editor
This software stitches photos together to create a panorama. (Free)
Celestron 9.25" GPS Telescope
The main thing here is to have a telescope that tracks the sky. This is necessary to take the thousands of images required to get sharp images.
ZWO ASI178MC Astro Camera
The camera I used is the ZWO ASI178MC. This mid-range astronomy camera is connected to the telescope where an eyepiece would normally be. It essentially turns the telescope into a giant telephoto lens. The camera is plugged into and operated via USB on a laptop.
How to take the photograph
#1 Picking the Phase
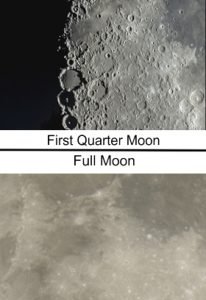
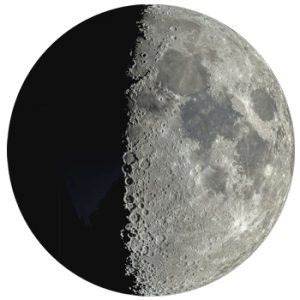
Picking the phase to photograph is one of the first things to start with. When the moon is full, the sun is overhead on the moon and there are no shadows. This creates a washed out appearance with little contrast. When closer to the first quarter, there are shadows, created as the sun rises over the lunar terrain. These shadows help create the appearance to depth.

#2 Acquiring the Images
The moon is actually too big to be photographed in one frame, due to the magnification of the telescope. However, this is also part of getting a high resolution image. To get the full moon with my camera & telescope requires about 15 separate frames. Thus instead of one 3k x 2k image, when fully assembly the 15 frames give me a 9k x 9k image.
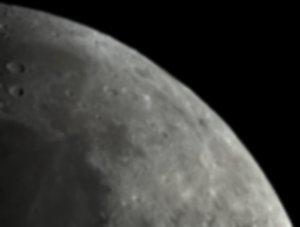
This is an example of a single frame. It shows the part of the moon the camera sees and it is blurry. The blur is caused primarily by atmospheric turbulence. To compensate for this I’ll use SharpCap to take 2,000 – 5,000 images. As each exposure is only a few milliseconds long, capturing the thousands of shots necessary only takes 1-3 minutes. In most cases I use the .SER format, which is essentially a video file, so instead of having thousands of separate images they are captured in one video file.

#3 Processing the Images
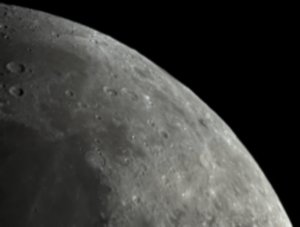
The first step in processing the images is to run them through AutoStakkert. This program takes the thousands of images and averages out the noise. When I get the image back from AutoStakkert, I run it through the wavelets section of Registax to further sharpen it. I then do any touch ups required in Corel Photo-Paint. I finalize the images in Lightroom.

#4 Putting it all Together
Now that I have the 15 frames processed, sharpened, and normalized, I run them through Image Composite Editor to create the panorama of the full moon. Once I have the full moon, we’re not done yet. I then run the full image back through Lightroom to adjust the brightness, colors and some more sharpening.

#5 Final Touches
The last step takes me back into Corel Photo-Paint. Here I can resize, rotate or center the image. Finally I can add a star filled background and watermark. In total, this image took about five hours of work, from setting up the telescope to acquire the images through the processing to get the final image.

It takes time, specialized equipment and software to get images like this. However, if you love photography and the night sky, it can be very rewarding and satisfying when you can capture the beauty of our celestial neighbor to share with friends and family.